- GC G-CEM LinkAce is a dual-cure self-adhesive universal resin luting cement delivered in double barrel automix syringe, designed for the adhesive luting of all-ceramic, metal or composite indirect restorations.
- Offering the highest polymerization in self-cure mode, G-CEM LinkAce ensures perfect results, regardless of the type of prosthetic material that is being cemented.
- The proprietary phosphate monomers of G-CEM LinkAce guarantee an unsurpassed bonding durability.
- The high wear resistance and colour stability give peace of mind when luting CAD-CAM and metal-free restorations.
Directions to use:
A. CEMENTATION TECHNIQUE for ceramics, indirect composites and metal-based restorations
1. TOOTH PREPARATION a) Prepare tooth in usual manner. For pulp capping, use calcium hydroxide. b) Clean the prepared tooth with pumice and water. A clean surface is paramount for an optimal adhesion. c) Rinse thoroughly with water. Dry thoroughly by gently blowing with oil free air. Prepared surface should be dry. NOTE: 1. Do not use substances like H⊃2;O⊃2;, EDTA and/or disinfectants as these may lower the bond strength. 2. Special care should also be taken to remove so called imaging powders very thoroughly with pumice and water.
2. RESTORATION PREPARATION Make sure that the restoration is pretreated and handled according to the manufacturer’s instructions.
3. DISPENSING a) Before dispensing the first time from a new syringe or after a long interval in between use, bleed the pastes from the syringe. b) Extrude material directly into the restoration. NOTE: The used mixing tip can be left on the syringe to serve as a storage cap until next use. For each application, place a new mixing tip.
4. CEMENTATION a) Coat the internal surface of the restoration with sufficient cement and seat immediately. The working time is 3 minutes 30 seconds from start of mix at 23°C (73.4°F). Higher temperatures will shorten the working time. NOTE: Ambient light may shorten the working time. It is recommended to diminish the intensity or turn off your operation light during the cementation procedure. b) Maintain moderate pressure until final polishing is done.
5. EXCESS CEMENT REMOVAL a) Maintain moderate pressure and make sure the restoration remains in place. b) To remove excess cement, light cure using a visible light curing unit for 1 second or allow the cement to self-cure until the excess cement feels rubbery. c) Remove excess cement with appropriate instruments, holding the restoration in position.
6. FINAL SET While maintaining moderate pressure, light cure all surfaces / margins for 20 seconds each (Halogen/LED, intensity: 700mW/cm2, covering wavelength: 430 to 480 nm). In case of the following restorations, let the material set for 4 minutes after removing excess cement. -Metal and metal coping restorations -Metal-free dark and opaque restorations -Translucent metal-free restorations greater than 2mm in thickness
7. FINAL POLISHING If needed, finish and polish margins with appropriate instruments.
B. CEMENTATION TECHNIQUE for metal, ceramic, fiber posts, and cast post and cores
1. TOOTH PREPARATION Prepare the post space according to manufacturer’s instructions. The post space should be cleaned, rinsed and dried thoroughly using paper points. The post space should be dry. NOTE: a) Sodium hypochlorite solution is recommended to use for the chemical cleaning of the post space. b) Do not use H⊃2;O⊃2; and/or EDTA to chemically clean the post space as these products may lower the bond strength.
2. POST PREPARATION Make sure that the post is pretreated and handled according to the manufacturer’s instructions.
3. DISPENSING & CEMENTATION a) Before dispensing the first time from a new syringe or after a long interval in between use, bleed the pastes from the syringe. b) Attach a GC Automix Tip for endo. For details, see A 3b) above. c) Apply the extension tip to the mixing tip. d) Extrude material directly into the post space. e) Insert the post immediately into the post space within 1 minute after cement application. NOTE: 1) The oral temperature accelerates the setting reaction of the cement. 2) Ambient light may shorten the working time. It is recommended to diminish the intensity or turn off your operation light during the cementation procedure. 3) Keep the tip immersed in the cement while dispensing to avoid trapping air. 4) DO NOT use lentulo spirals to place the cement in the post space as this may shorten the working time. f) Maintain moderate pressure.
4. EXCESS CEMENT REMOVAL Continue to maintain moderate pressure making sure the post remains in place, and remove excess cement with appropriate instruments. In case of a cast post and core, tack cure all surfaces for 1 second each with a visible light curing unit.
5. FINAL SET a) While maintaining moderate pressure, light cure all surfaces/margins for 20 seconds each (Halogen/LED, intensity: 700mW/cm2, covering wavelength: 430 to 480 nm). b) Let the material set for another 4 minutes. In case of a cast post and core, let the material set for 10 minutes.


 Our Categories
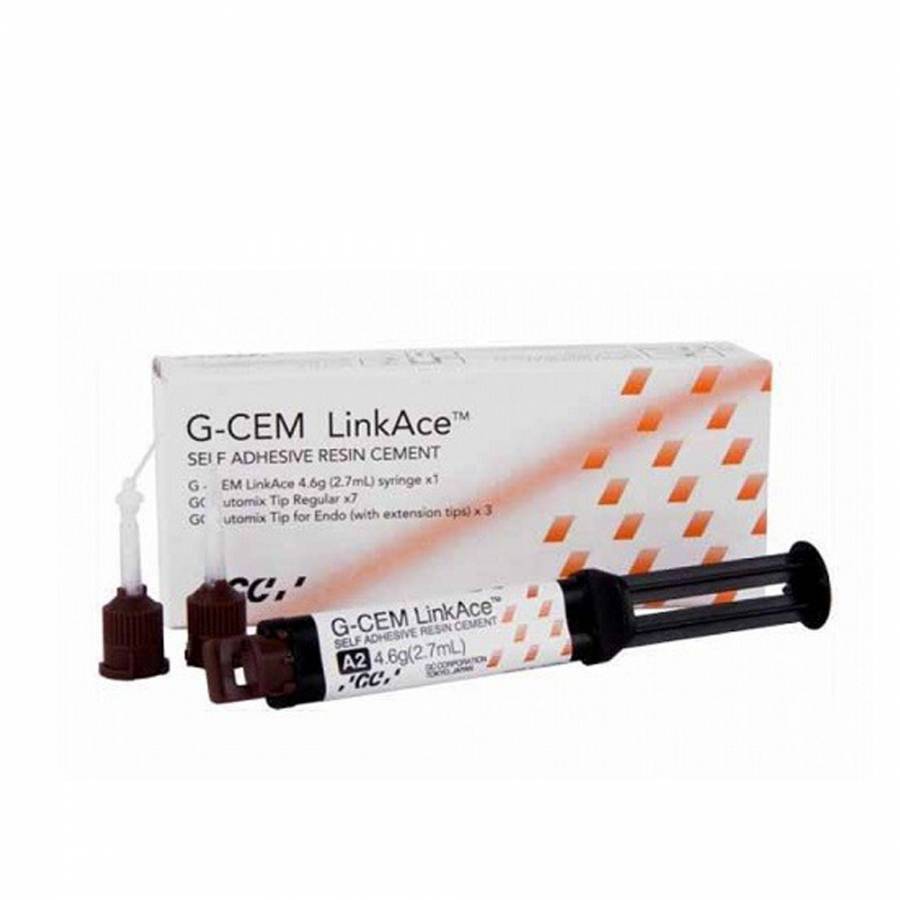
 a
a a
a Write a Review
 Print
Print
