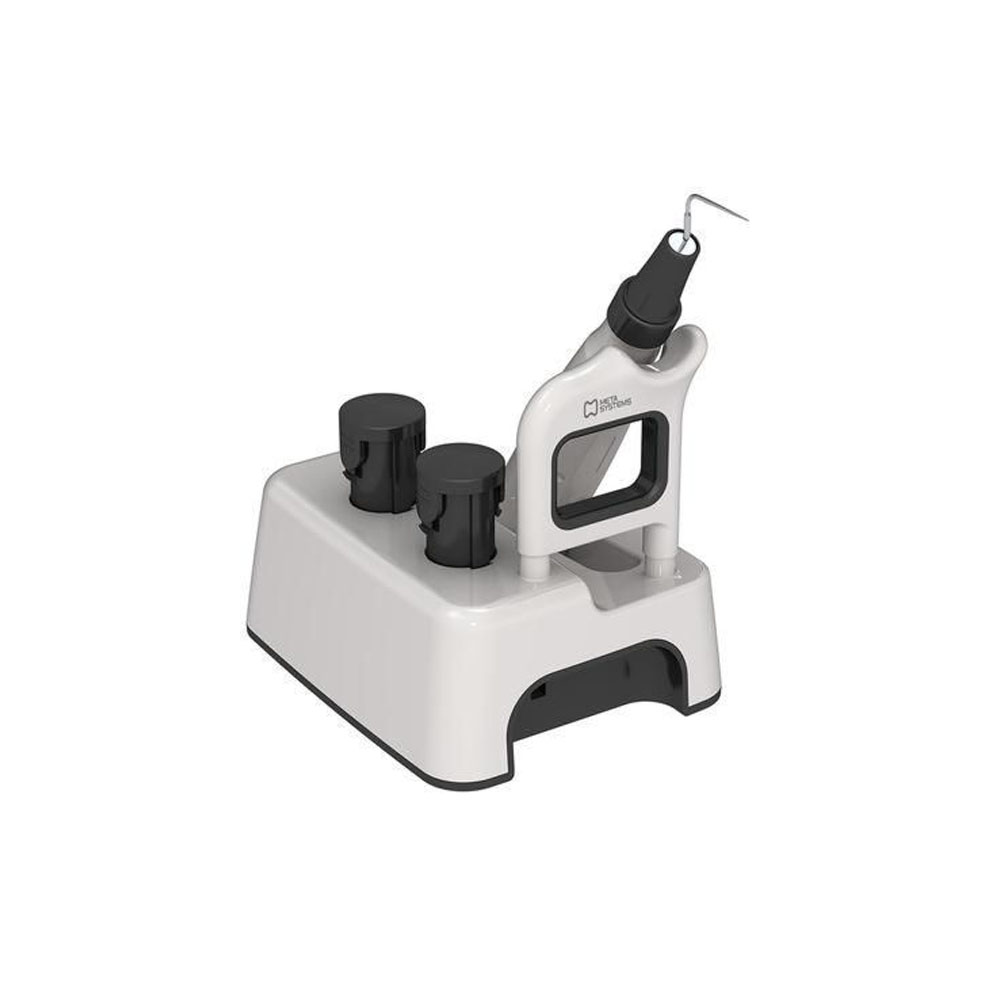
- Extended battery life.
- Chemically Resistant Body.
- Removable Battery.
- Ergonomic design for comfortable operation.
- The excellent tactile-feeling trigger for smooth and easy filling.
- Simple use and outstanding performance.
- Outstanding Heating performance - Reaches 200°C in only 35 seconds. Dual temperature presets: 160° / 200° .
- A highly efficient and replaceable lithium battery ensures that the EQ-V has an extended battery time, making it ideal for longer and more complicated procedures.
TECHNICAL SPECIFICATION:
GUN:
| Weight |
177g(Including Battery) |
| Operating |
3.7V |
| Setting Temperature |
160° or 200°C
|
| Auto Shutoff |
5 minutes |
PEN:
| Weight |
90g(Including Battery) |
| Operating Voltage |
3.7V |
| Setting Temperture |
180° or 230°C |
| Auto shutoff |
5 minutes |
Direction to use:
USER INSTRUCTION :
STEP - 1
PREPARATION: GUTTA PERCHA POINT
- Select Same Gutta Percha point as previous used file.
STEP -2
CONFIRM TUG- BACK
- Fit a gutta-percha point that matches the prepared root canal. To confirm feel a ''tug''.
STEP - 3
HAND PLUGGER
- Prepare 2-3 pluggers to condense mark root canal length by a rubber stopper.
STEP - 4
EQ-V PACK TIP
- Select an EQ-V Pack Tip that can be inserted to at least 4-6 mm short of the working length.
- Push the pack tip into the front of the handpiece. (To prevent burns, confirms that the power is off before inserting the tip).
STEP - 5
MARK LENGTH ON PACK TIP
- Set the rubber stop on the tip 4-6mm short of working length.
STEP - 6
GUTTA PERCHA POINT INSERTION :
- Coat the apical 3mm of gutta-percha point with sealer, then insert the point into the canal using a gentle pumping action.
STEP - 7
EQ-V PACK
- Turn on the power by pressing the button.
- By Pressing the temperature selection button, Select the desired heating temperature for the pack tip (180 degrees/ 230 degree).
- To Activate the tip press the ring button, The tip may be continuously heated up 2 seconds.
STEP - 8
REMOVAL OF EXCESS OF GUTTA PERCHA
- Using the pack tip cut off the excess gutta-percha, by inserting the unheated tip 4-6 mm short of the working length, give a 1-sec burst of heat then pull from the canal , removing the excess gutta-percha.
- WARNING: Make sure not to remove the apical plug.
STEP- 9
HEATING AND CONDENSATION :
- While activating the ring button insert the tip into the canal, while pushing towards the apex.
- Stop when you get to the marked working length.
- Apply heat for 3 seconds, while continuing to exert pressure, hold in place for 10 seconds. Give a 1-sec burst of heat then pull from the canal. Seconds, while continuing to exert pressure, hold in place for 10 seconds, give a 1-second burst of heat then pull from the canal.
STEP- 10
CONDENSATION :
- Condense the apical plugger with your pre-selected plugger to complete the obturation of the apical 1/3rd and accessory canals.
STEP - 11
PREPARATION :
- Insert the needle cartridge matching the shape of the cartridge hub to the shape of the mounting hole, then lock by turning the cartridge hub clockwise until it stops.
- Using the multi-tool and the tweezers, bend the needle.
- Insert the gutta-percha bar into the slot. Only use one bar at a time.
- Insert the plunger into the rear of the EQ- V Fill, pushing forward as far as it will go. When you have finished using the device, remove the plunger by pulling it out while pressing the button.
- Please do not insert the GP bar when the device is turned on. Check that there is no GP bar remaining before inserting a new bar. You can also tell if the plunger head reaches the end of the device.
- Press the power button to turn on EQ-V Fill. Press the temperature selector button ( °C ) to select your desired temperature either 160 °C or 200 °C.
- After turning on the EQ-V Fill and selecting the desired temperature, the device will begin heating to the selected temperature. The blue temperature LEd will blink until the selected temperature is reached. When it stops blinking, the device is ready to use.
- Insert the EQ-V Fill needle until it contacts the apical fill. Make sure it doesn't bind.
- Wait 5 seconds to allow the apical fill to soften slightly.
STEP - 12
3-4 mm INCREMENTAL INJECTION
- Pull the trigger while filling the canal 3-4 mm.
STEP - 13
CONDENSATION
- Condense the gutta-percha.
STEP - 14
COMPLETE INJECTION :
- Reinsert the needle until it contacts the fill.
- Hold in place for 5 seconds.
- Pull the trigger to fill to the apical foramen.
STEP - 15
CONDENSATION :
- Condense the gutta-percha with a large plugger to complete the obturation.


 Our Categories
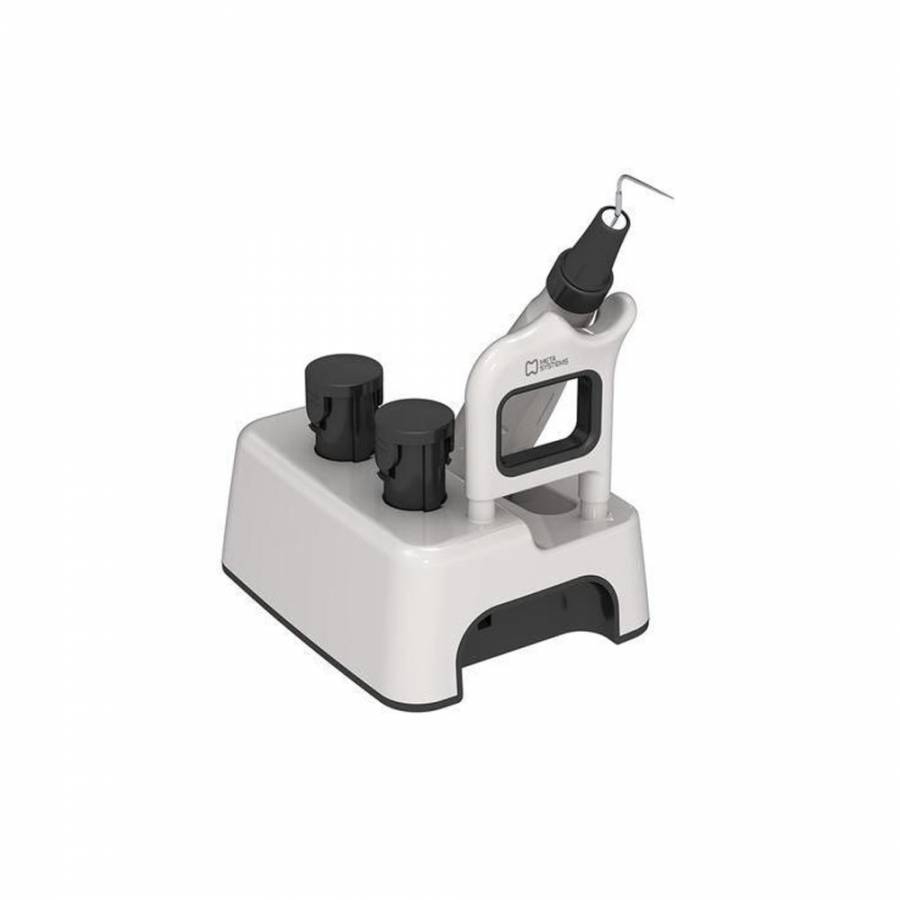
 a
a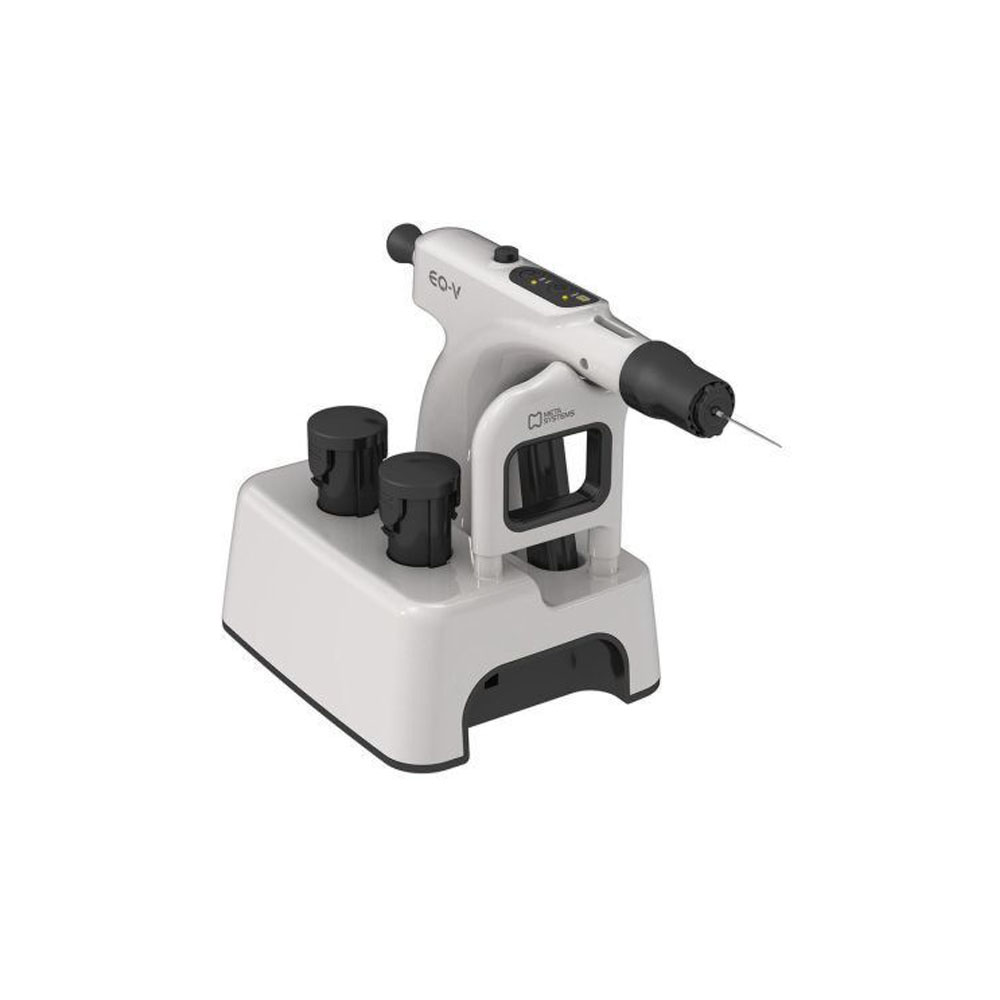 a
a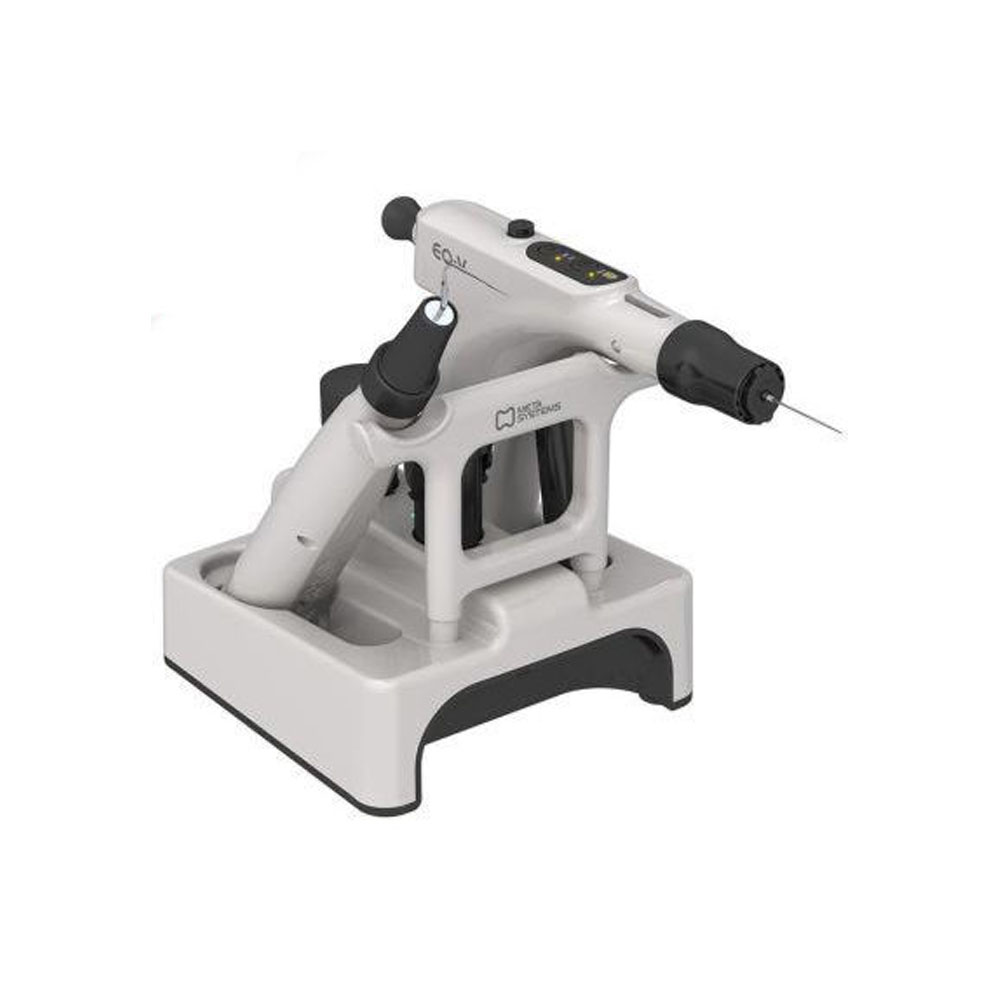 a
a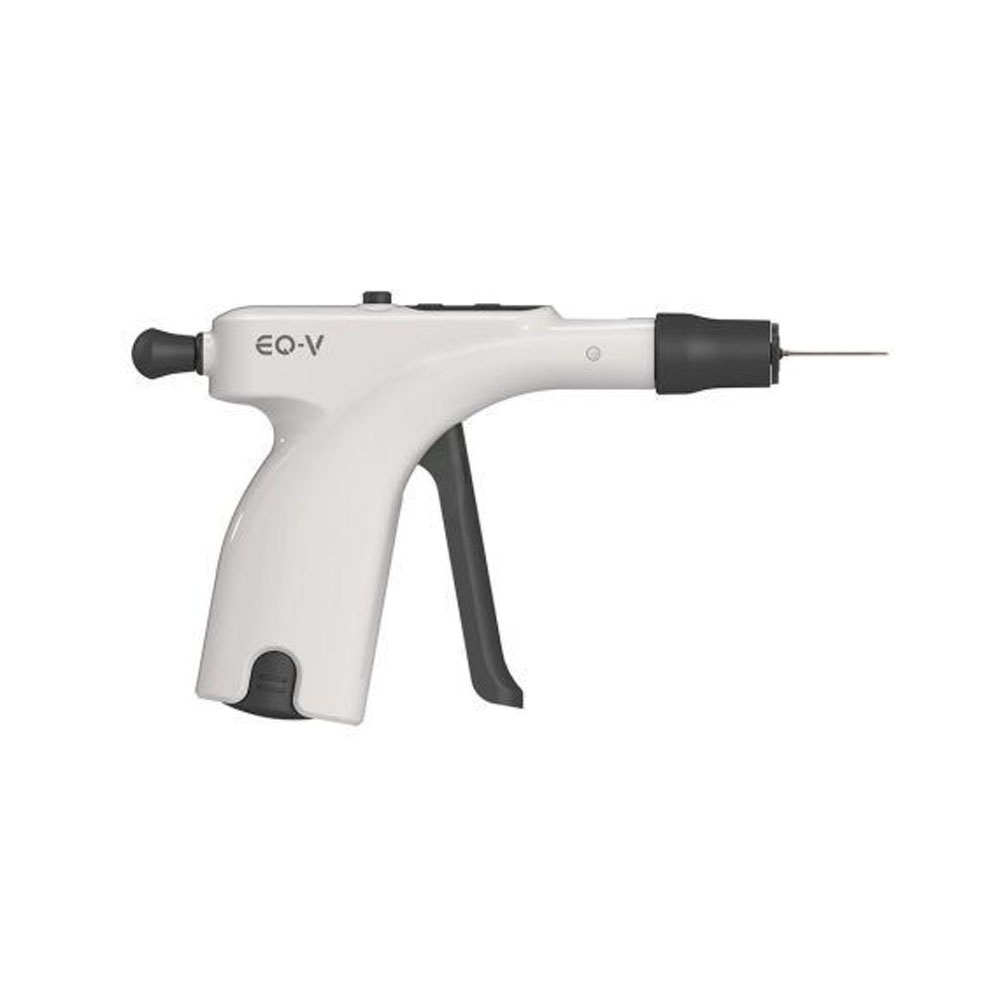 a
a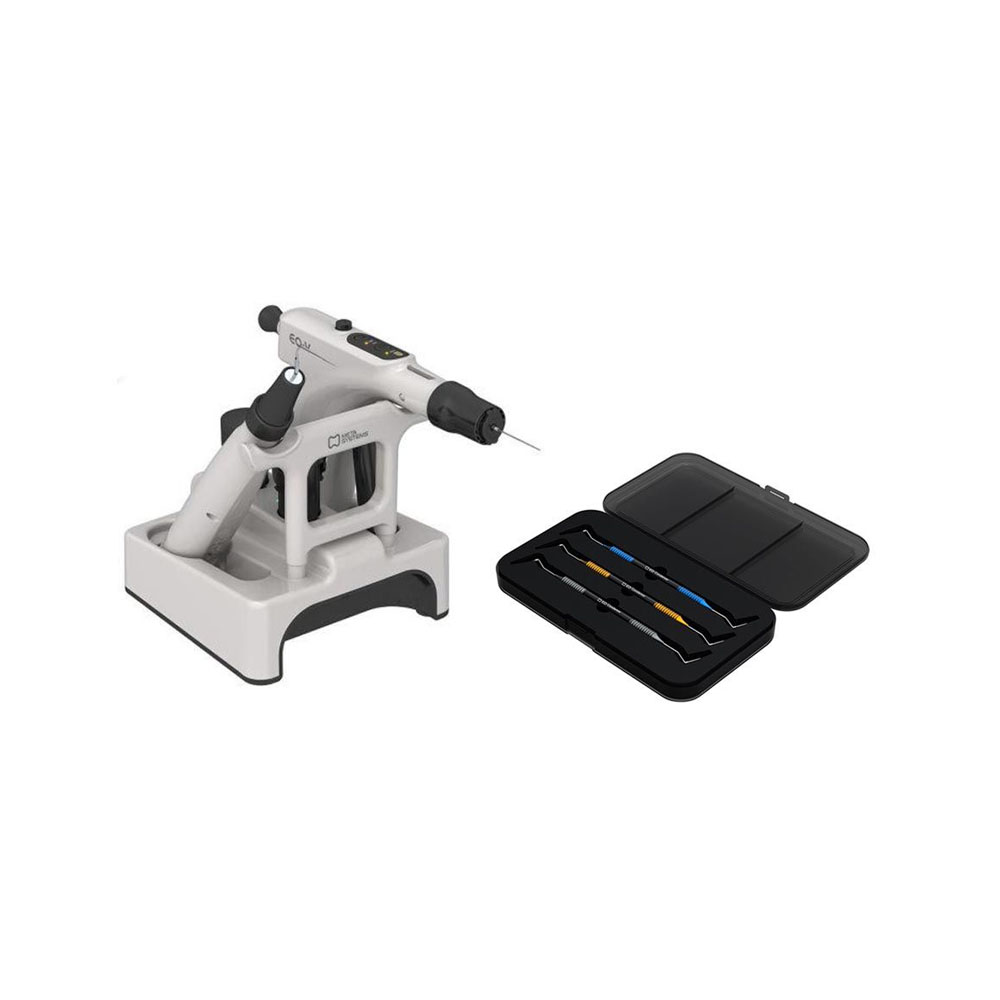 a
a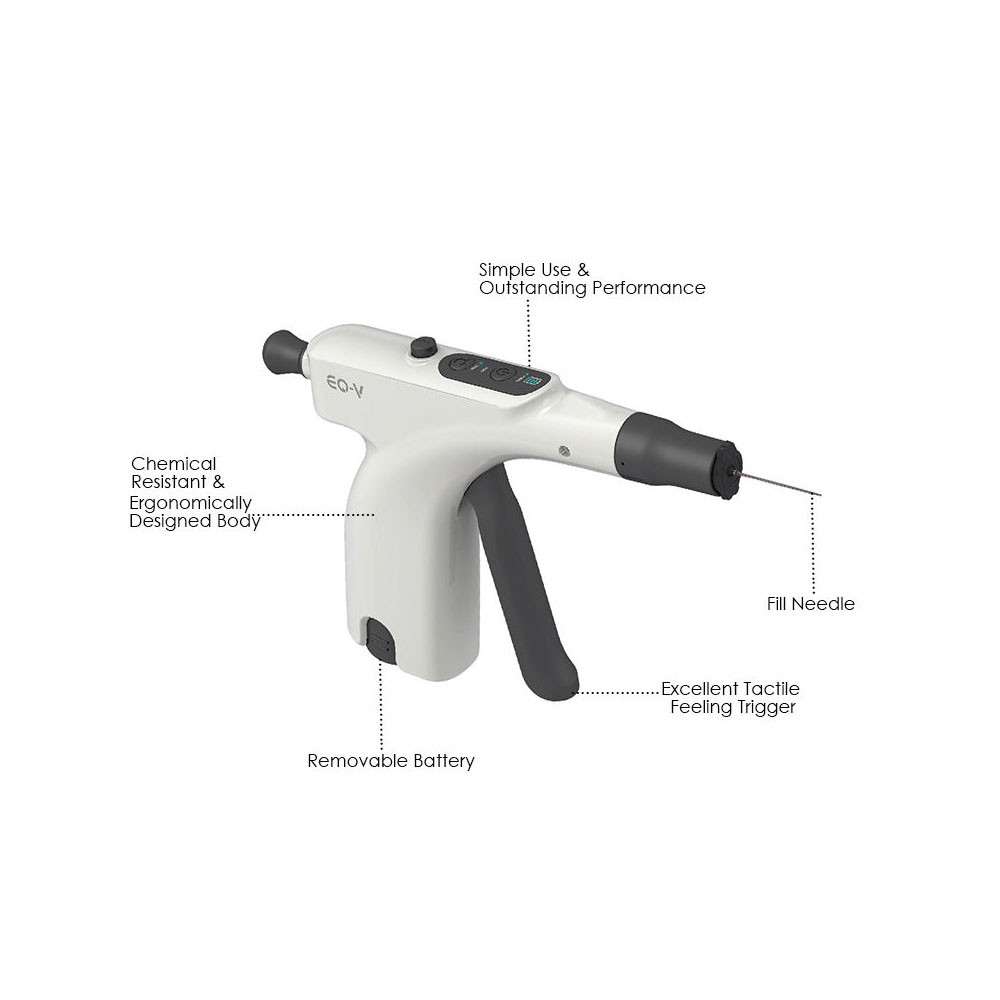 a
a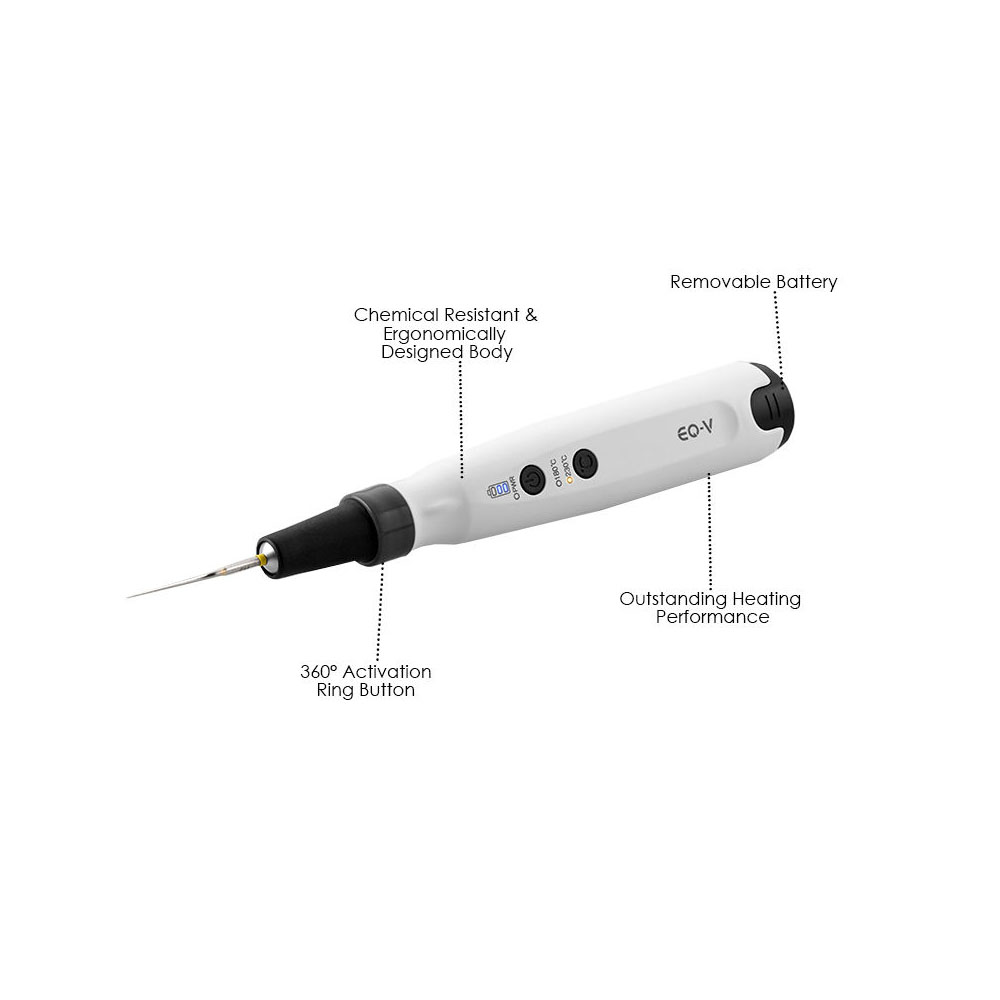 a
a Write a Review
 Print
Print
